Summer rain

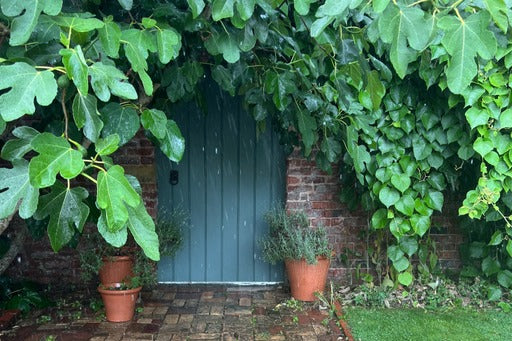
Beautiful midsummer... when the warm air catches the scents of lavender and jasmine within the enclosed space of the walled garden. It’s nice to see some of the roses mustering up a second flush, the hydrangeas gearing up for their flamboyant displays, and our figs looking almost ready to eat.
Even though it has been a wet spring, the ground is dry and in need of some much-needed water. Not just water from a tap, but a good drenching of rain. I would often find myself praying for a good downpour. The moment it arrives, I would rush outside like a crazy woman, to smell the air, and dance in it... as if to say, ‘thank you!’ to the rain gods. It’s one of the best feelings going. Have you tried it?
Over the last five years we have been keeping a note on what plants perform well here in dry situations and are seriously thinking of making a few substantial changes in some areas inside the walled garden. If you’re not already doing this, then I’d highly recommend starting up a list spanning over the next couple of months of what plants are performing well, with little or no water. Maybe give some new plants a try too.
Here are a few other jobs we are getting on with here this month.
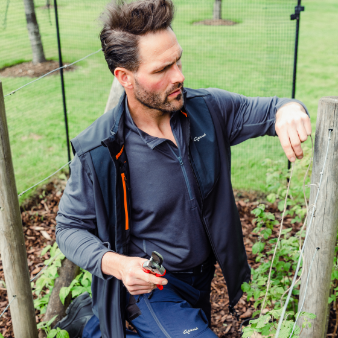
1- Summer prune wisteria. This helps to promote more flowers for next year and keeps this beautiful and vigorous plant in check! This job is best carried out during July and August. It’s quite simple, and here’s how we maintain our rather large and mature one. First, I will head straight to the base of the climber, cutting away any new shoots that are rising from around the base, only saving one if I’m wanting to train a new replacement shoot. Next, I will start going along the upper sections that are growing from the main trunk, taking a side shoot, and counting at least five or six leaves from that, making a cut just above the sixth leaf.
2- Split and divide iris. Last year we had the big job of splitting and dividing our bearded Iris pallida that threads through ‘Maggie’s Border’ along the west wall. Its flower production this year was expectedly poor while it sets out its new roots. I wanted to point this out to prevent any worrying! For the job I prefer to use a fork, as it’s gentler when digging up the rhizomes. Once I’ve dug them all out, I will split the congested clumps into individual plants where the green sword-like leaves grow from, cut away the flower stem to the base, and cut down the leaves to a third creating a fan effect. Chop off any black or dead looking pieces leaving a healthy rhizome that is roughly double the size of your fist. When re planting, only bury the roots leaving half the rhizome above soil level and facing south for maximum sun exposure!
3- Cut down grass from no-mow May! This can be done with a scythe or an electric or petrol strimmer. We prefer using a scythe so not to upset the bees because their hives are within our orchard where our hens live. Thankfully Tom took himself on a scything course, and can put his new shiny scythe to the test! Before he does this, we put the hens into the hen coup where we know they are safe and in one place, if the area wasn’t partly walled and fenced off, we would also check for any hedgehogs. Once this has been done, we will leave all the clippings in situ so it can decompose and release up to 30% of the required nutrients for the lawns, also the hens love scratching around in them!
4- Thin apples on trees. This is not essential, and some trees naturally shed some in June. It can, however, make a dramatic difference to the health and final crop if done annually. First inspect the branches for any aphids and disease, then begin removing the smallest and any unhealthy apples in the cluster, being incredibly careful not to yank off the unwanted fruits, you simply lift and gently snap them off. Be mindful to try and leave as much on the upper branches to get more sunlight for a riper apple! Don’t worry if you only have one or two apples left in one cluster, better to have that than too many unhealthy apples! In previous years when we haven’t performed this task the weight of the apples made the branches become too heavy, bowing or even snapping!
5- Keep checking newly planted dahlias. Now is prime time for aphids, they can quickly take over and feast on their flower heads. Do not fear, this can be controlled very easily without using any nasty stuff, just water. Please check the whole plant to see if there are any ladybird larvae, we do not want to disturb them as they dine on aphids! All you need is a water spray and your finger and thumb, turn the nozzle of the water spray onto a fine jet, directly spray the aphids and gently squish them between your finger and thumb. Keep spraying until all aphids are gone, making sure to check the under side of the flower bud. They can hide under the leaves too! I try and do this once a week, usually while I’m watering. By the end of July nature usually balances everything out and once the dahlias get into their stride, this job is no longer needed. Don’t forget to start feeding with tomato feed and seaweed by mid July or once they have started flowering.
6- Make a start on planning for next spring! Yes, I know it sounds crazy, but if you have earmarked that extra special tulip that may have sold out last year, NOW is your moment to place your order, or at least get some catalogues and make those dreamy lists, while you are enjoying a nice cup of tea in the garden!
Happy Planning!


